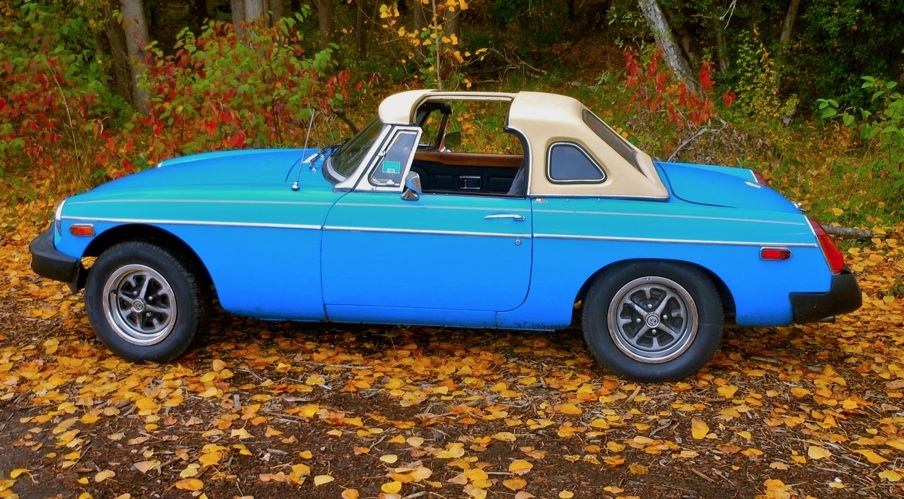
1978 MGB T-Top
"My '78 MGB", ©2011
Elroy Christenson
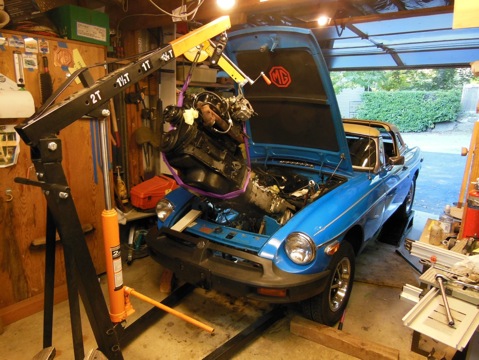
I finally got this car running
again after sitting in the garage for 9 years. After
commuting in it for many years I broke a piston
ring. I had the engine rebuilt and reworked the
electrical. I've rebuilt the front end and brakes,
refurbished the over-drive, cleaned up the exterior and
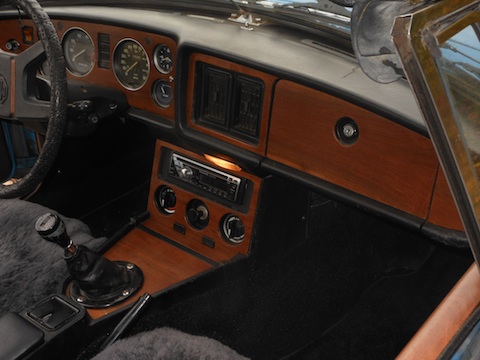
redid most of the interior including doing a little
sculpture by making a solid walnut paneled dash board and
rub rails and handles. The T-top window seals have
now been replaced for wetter Seattle. I love
to be able to pop them out at a stop light. I
discovered a bit of a rumble in the car on a recent trip
which turned out to be an over-heated and worn arm on one
of the universal joints. Both have been
replaced and the valves are adjusted to make it sound like
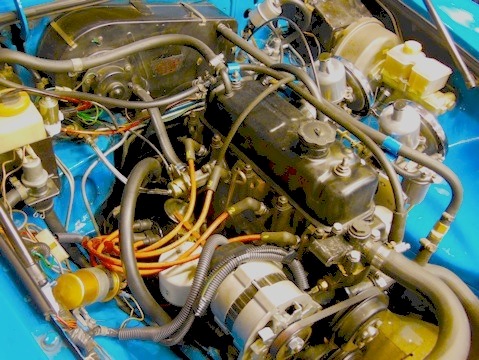
the fine machine I want. I'm still in the process of
cleaning the engine compartment. I have to disassemble
many electrical components.
I have to say that the my new
Pirelli P4 tires work great in the snow and I'm
loving the way it drives. I did have to take the
time to re-align the front wheels. According to the
MGB Club members I've met so far, this may be the only
T-top in Washington State.
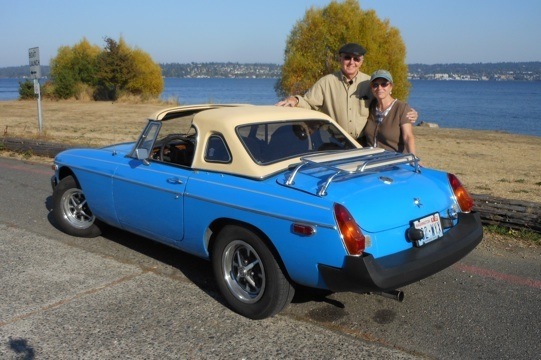
Cheryl and Elroy with the '78 MGB by Lake Washington
©2012 Elroy ChristensonNow a member of the MG Car Club NW Centre. 
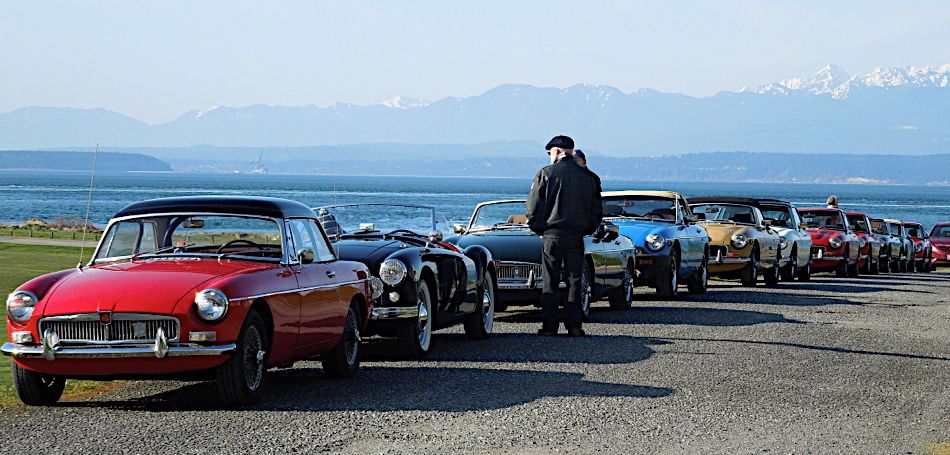
The MG Car Club NW on the Whidbey Island Art Tour at Fort
Casey, March, 2012, a beautiful but frosty day.
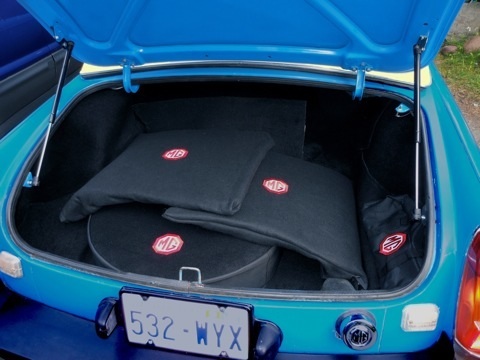
My latest cleanup with
Cheryl's stitchery genius. Repainted before new carpets
all around along with a new tool bags.
Both the T-top panels now have protective fuzzy
envelopes and the tire is covered nicely. The
neighbors think I can't remember what kind of car it
is. I had to straighten the lid internal supports
and re-bend the hinges until they matched. The lid
itself was also twisted a bit by the single original trunk
prop so I had to carefully re-curve and re-align the
fit. It may not be perfect but it is a lot
better. The new struts lift automatically after
opening about 5". [2012]
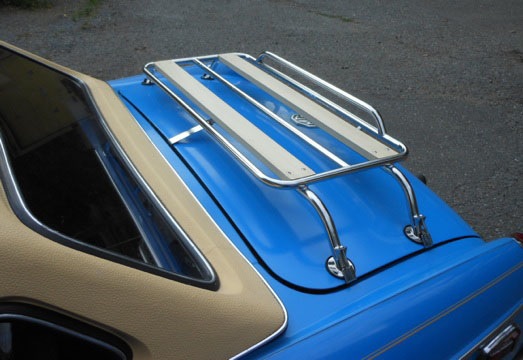
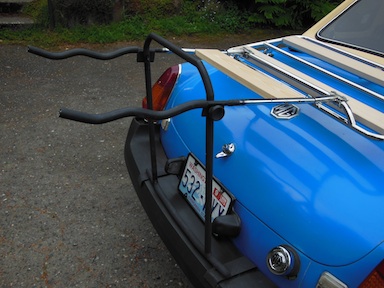
My most recent addition has been the new removable luggage
rack. I couldn't leave it alone and had to add some
wood supports that flattened it out and matched the color of
the T-Top. I like this Surco stainless steel rack for
its ease of attachment and its strength. I still am
looking for some nice straps. I expect it to
drop my gas mileage loaded but it will be worth the extra
space. I already fabricated a funky bike rack but may
have to see it I can figure out how to add that to this
rack.
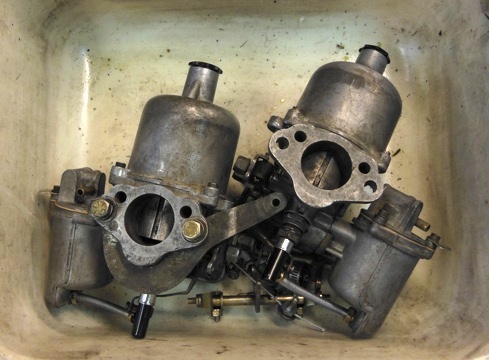
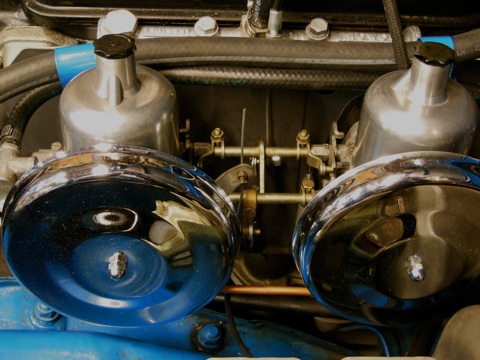
I'm still learning about the Stromberg carburetor. I
had to take it apart to put in a new O-ring. Getting
it readjusted has been a real learning experience.
Finally running well enough to make it over the North
Cascade Highway to Winthrop but it putted across at high
elevations.
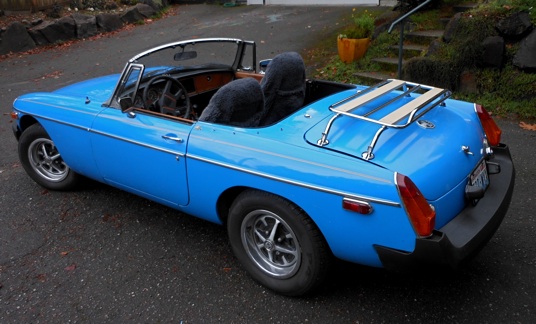
'78 MGB topless
I had to take the top off in the middle
of the rainy season because I had my windshield replaced
at Safelite at 12813 Aurora N. They did a great
job. Terry replaced all the bolts and screws with
stainless steel. Some of the screws had been put back in
the wrong locations from a previous replacement. He had
to re-tap some of the holes and installed all the new
seals that I bought. It did change the alignment
since many of the seals had not been replaced for years.
Some of the bolts were missing or disconnected.
Terry was very careful and attentive to detail.
Don't expect this to be a quick job. It still was
done in about three days. I really don't think
they made a dime on it but seemed to do it for the love
of working on the car. This was a job that I had
nightmares over so I'm glad it's done. Since the top was
off I replaced the front seal on the top as well.
After the windshield replacement I had to rebuild my
wing windows. I found out that both had broken
seams at the corner but I only bought one good used
one. Once I had it pulled apart the door panel to
get out the drivers side I figured I was committed to
the other side as well. Unscrewing it and twisting
it out carefully without scratching the window was a
trick. Refurbishing the hinges was necessary since they
were pretty much frozen and the seals were all rotted
out. Once I knew the removal technique the other
side had to be done. I had a quick stainless
steel weld done and I had to finish the surface.
New seals put in all around, aligned so that its not as
twisted and it looks great.
The LED lights as a Christmas present from Cheryl, my
wife, was a great addition. The original lights
weren't as bright as I thought they should be but these
LED light boards and the accompanying flasher really
brightened things up. At the same time I went
through and replaced all the rubber gaskets around all
the other exterior lamps.
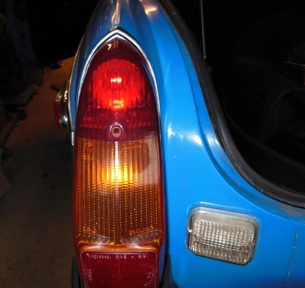 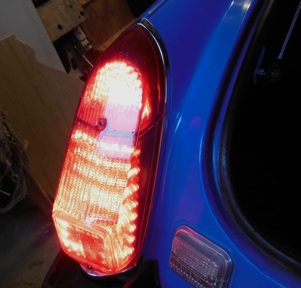
Guess which is a standard
brake
light
and
an
LED
brake light.
I bought the kit from British
Automobile company - BMCAuto.com
It wasn't cheap but I like the
results. I'm sure it is a lot brighter than a
simple LED replacement bulb. It's important to change
the flasher unit because the LED draws so little
current. (Dec. 2012)
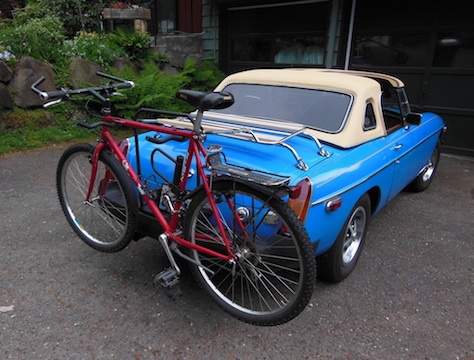
My latest project, (May 2013) was to get ready for
spring with a bike rack designed for the new luggage
rack. I previously had made one that "worked OK"
but I wanted one that would look good with the the
present configuration. Much of this was put
together with salvaged lightweight tubing from the
previous rack. I cleaned it up and chopped it
down. I had to create a new attachment
system to hook onto the luggage rack so that it wouldn't
scar it. A simple wrap-around clamping system with
5/8" hose lining works well. It rides well on the bumper
but I still have to put a metal tie-down strap on the
bottom to keep it from popping off.. It is only a
problem on rough roads and easily supports two
bikes.
All
works
copyrighted
and
may not be reproduced in any media without the
artist's permission. copyright 1975 - 2014 Elroy
Christenson.
|